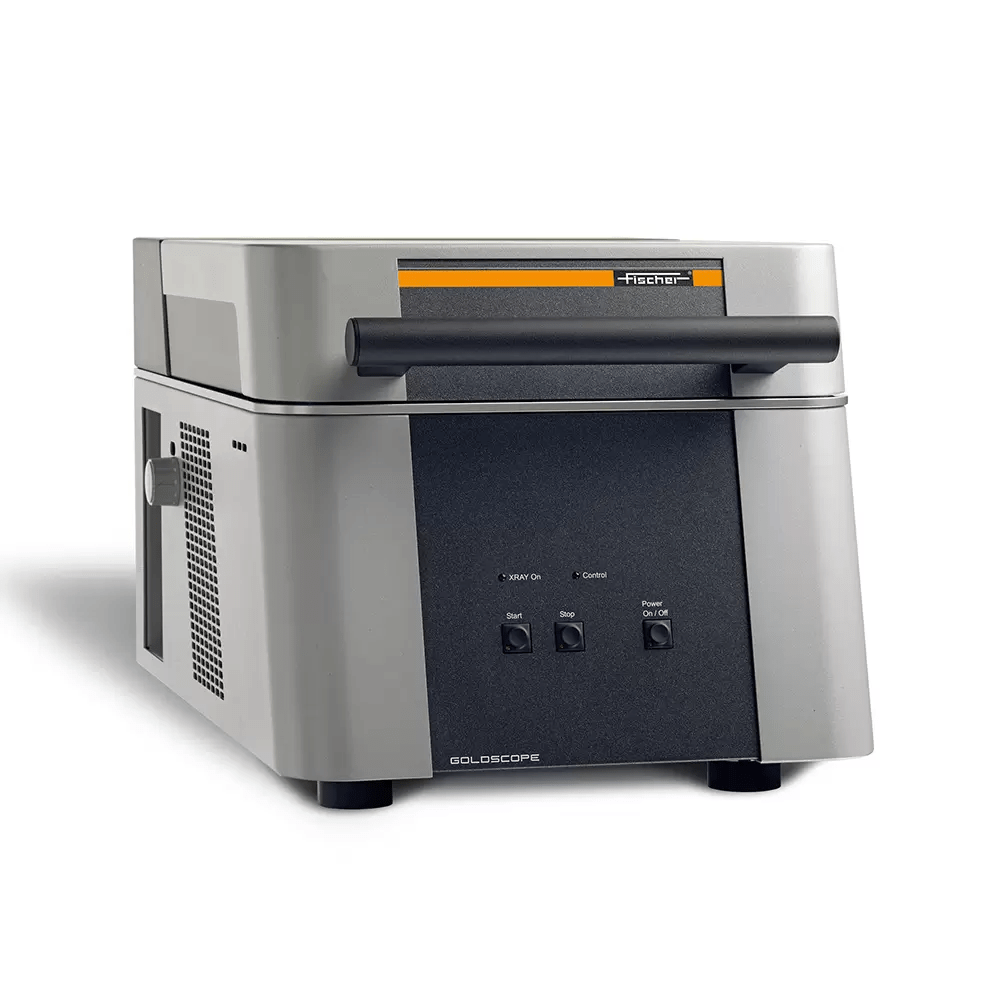
Goldscope SD550
X-Ray Fluorescence Measuring Instruments
Optimized for Fast, Cost-effective and Non-destructive
Analysis of Jewelry, Coins and Precious Metals
Hallmarking centers,
jewelry manufacturing,
assaying offices
Shipping All Over Neapl.
- Satisfaction Guaranteed
- +97701-5324699
The X-ray fluorescence measuring instruments of the GOLDSCOPE SD series are optimized
for fast, cost-effective and non-destructive analysis of jewelry, coins and precious metals.
Furthermore, the instruments are well suited for determining the thickness of gold coatings
on sterling silver and rhodium coatings on gold alloys.
The GOLDSCOPE SD series comprises four different instruments to fulfill the specific
demands from the fast purchase and sale of gold up to the high-precision analysis of
precious metals.
Typical fields of application are the analysis of:
• Jewelry, precious metals and dental alloys
• Yellow and white gold
• Platinum and silver
• Rhodium
• Alloys and coatings
Outstanding accuracy and long-term stability are characteristics of all X-RAY systems from
FISCHER. The necessity of recalibration is considerably reduced, saving time and effort. For even higher resolution,
the GOLDSCOPE SD 520 and SD 550 instruments with their Silicon Drift Detectors (SDD) are
available. The fundamental parameter method by FISCHER allows for the analysis without calibration.
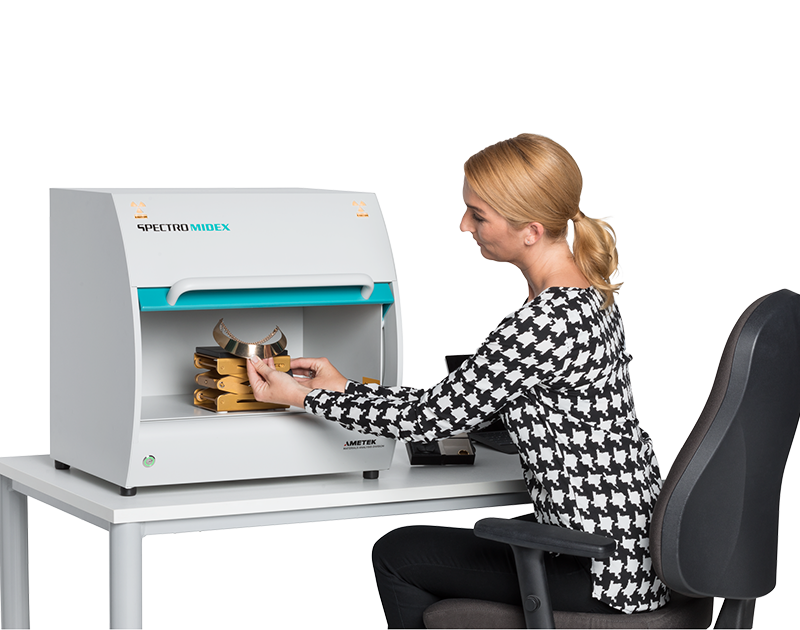
The GOLDSCOPE SD instruments are designed as user-friendly bench-top instruments. Due to their compact design, the instruments are lightweight and require only little space. For quick and easy sample positioning, the X-ray source and detector assembly is located in the instrument‘s lower chamber. The measuring direction is from underneath the sample,
which is supported by a transparent window.
The integrated video-microscope with zoom and crosshairs simplifies sample placement and
allows for a precise measuring spot adjustment.
The entire operation and evaluation of measurements as well as the clear presentation of
measurement data is performed on a PC, using the powerful and user-friendly WinFTM
software.
All GOLDSCOPE SD instruments fulfill DIN ISO 3497 and ASTM B 568.®


